Restore Data from Backup
The Backup VDC interface allows customers to restore files and folders in the virtual machines or to download data from the backups.
Restoring files and folders from backup
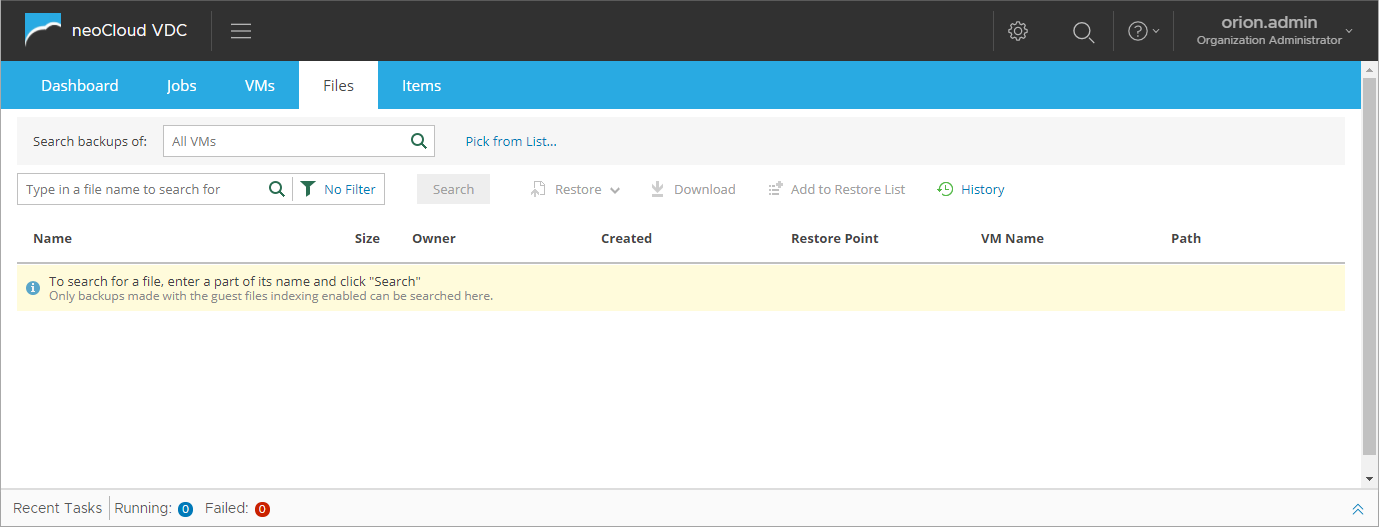
In the Files tab of the interface, the user can browse and search virtual machines that hold the data that need to be restored by using the Search Backups of field or select a virtual machine through the Pick from List... button.
Additionally, in the search field in the second line, the user may enter the name of the file that need to be restored from backup, but if more data need to be restored or the exact name is unknown the user may browse through the file system stricture directly from the backups.
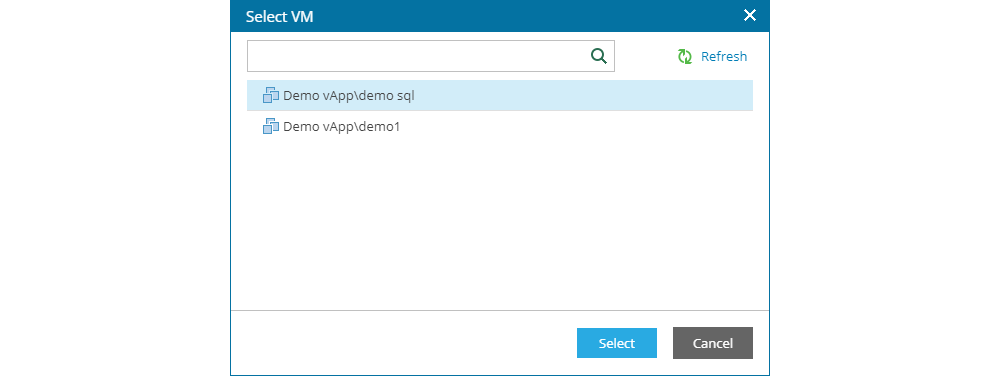
If a virtual machine is chosen through Pick from List... from the Files tab, a new window opens with a list of all virtual machines for which there is a restore point and guest indexing enabled in the backup job.
After choosing the virtual machine, the complete file system of the operating system is shown in the original structure where data that need to restored can be browsed through.
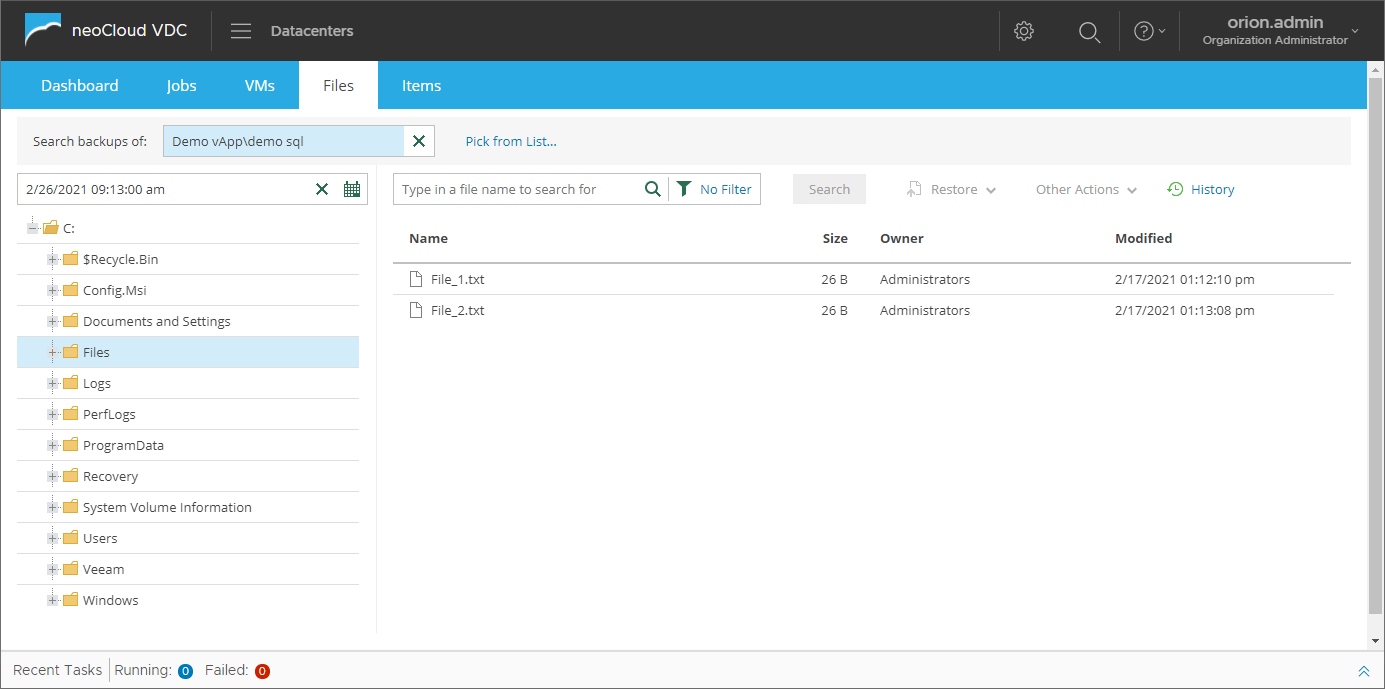
In order to restore data from an older backup, the user can click on the calendar icon which opens a small window where the required restore date (or nearby date) can be searched. All dates where restore points are unavailable are greayed out and those which have a restore point are white. Additionally, if for a same date there are multiple restore points, they appear next to the calendar.
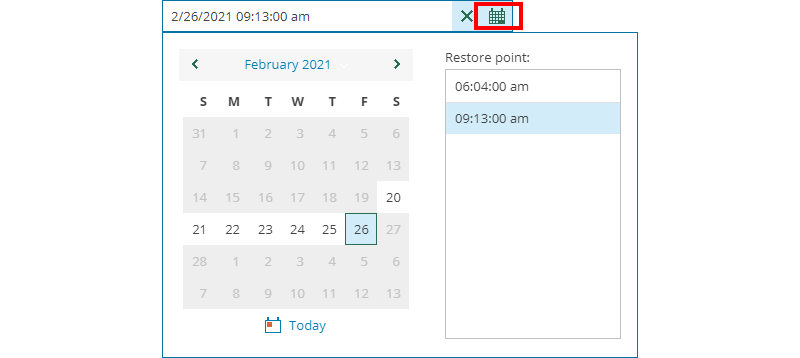
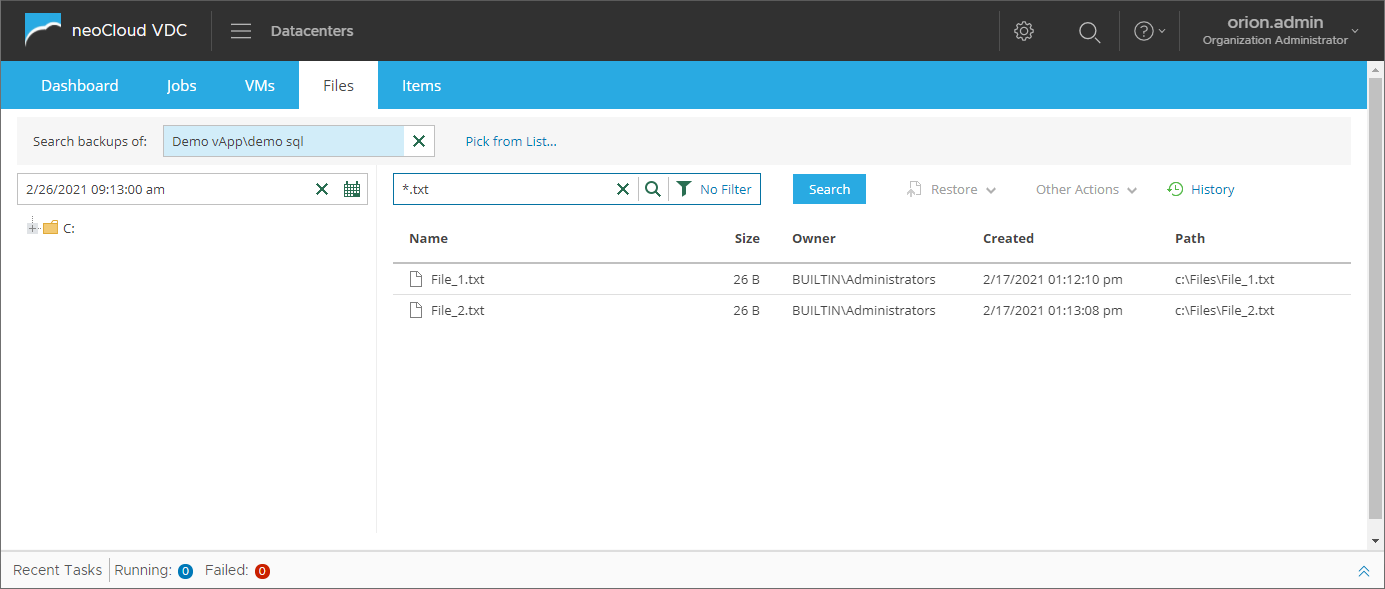
Another option for finding the data that need to be restores is to enter the name of the data in the search field. As shown in the image, using file masks such as (*), (?) or (;) is supported in the search.
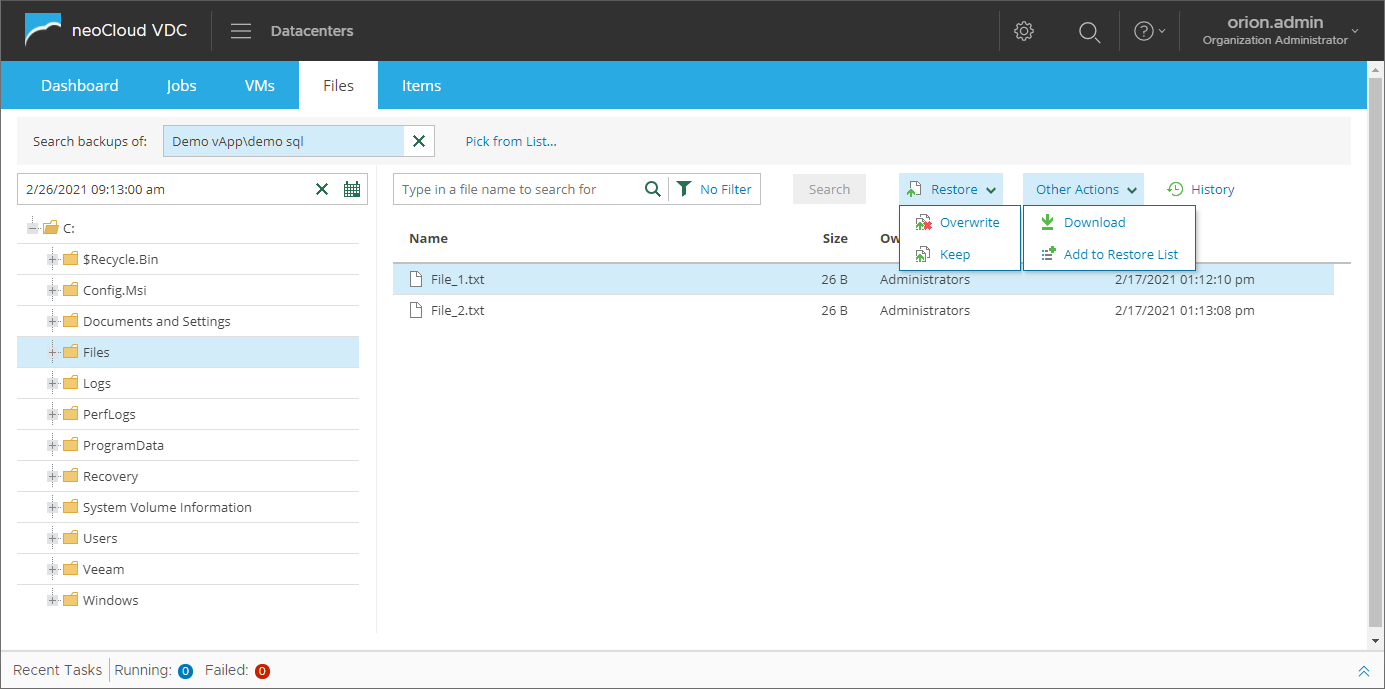
By selecting the data (multiple files/folders may be selected using the Ctrl button) that need to be restored, the Restore options become available with the possibility to choose Overwrite and Keep, as well as the options to Download the data or to Add to Restore List).
Selecting either one of the Restore options will initiate the restore process for which the user will be shown a message screen to confirm the restore. This message is shown in one of the images later in the page.
Clicking the Add to Restore List adds the data to a list for restore which appears as a yellow ribbon in the interface. The user may proceed with searching for other data that need to be restored from backup, add them to the list and once finished will all data, click on the Pending Restore in the yellow ribbon.
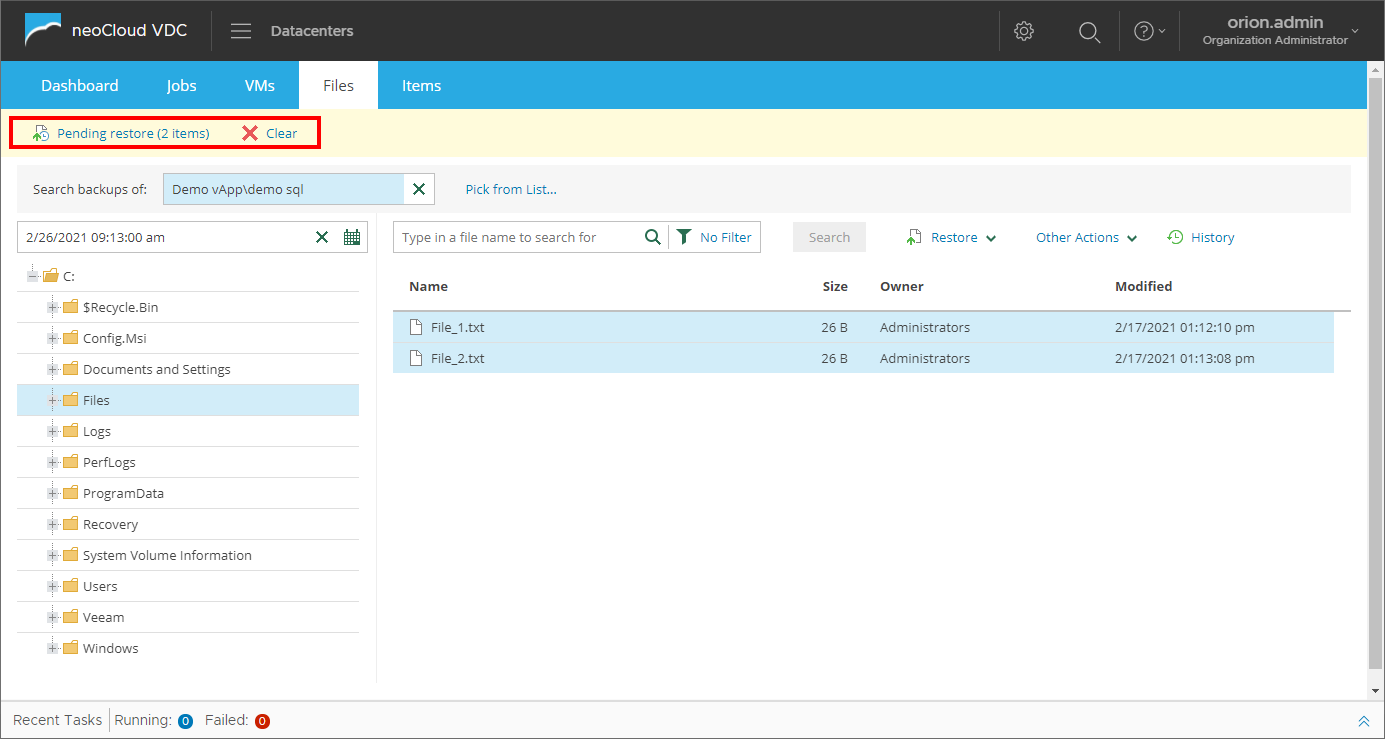
With that, a new window opens with the list of all selected data and the options for Restore with Overwrite and Keep, as well as the Download opiton.
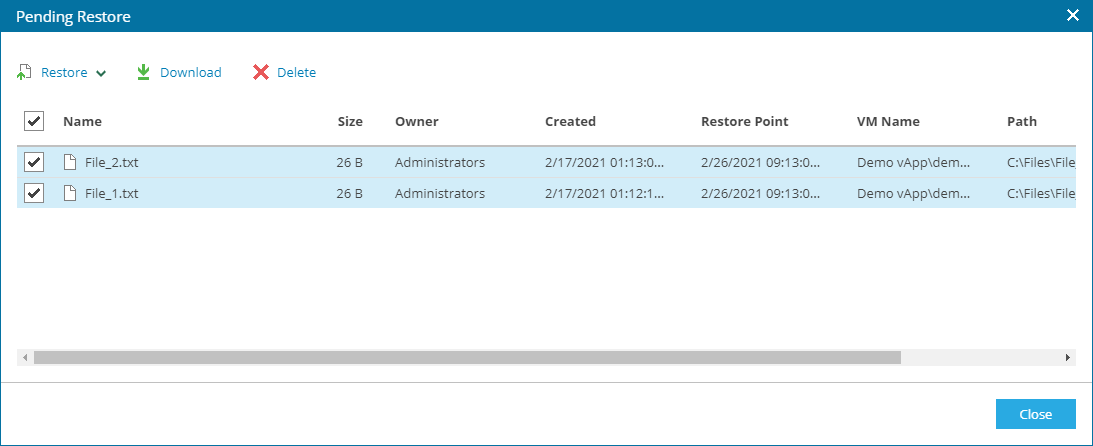
Selecting either one of the Restore options will initiate the restore process for which the user will be shown the message in the following image to confirm the restore.

By confirming, the detailed restore process is shown in the Log tab of the screen that is displayed so that the user can see all the steps of the restore.
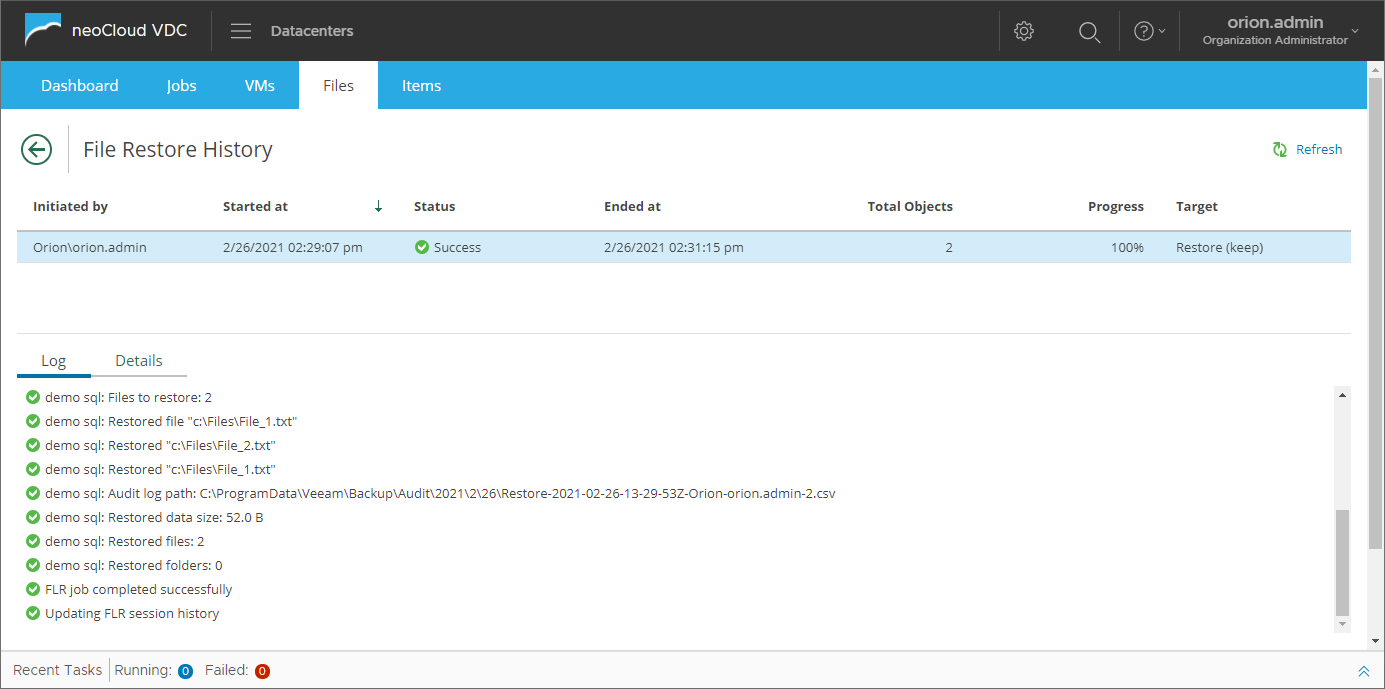
The Details* shows information such as the status of all restored data, the location and name of the restored data, etc.
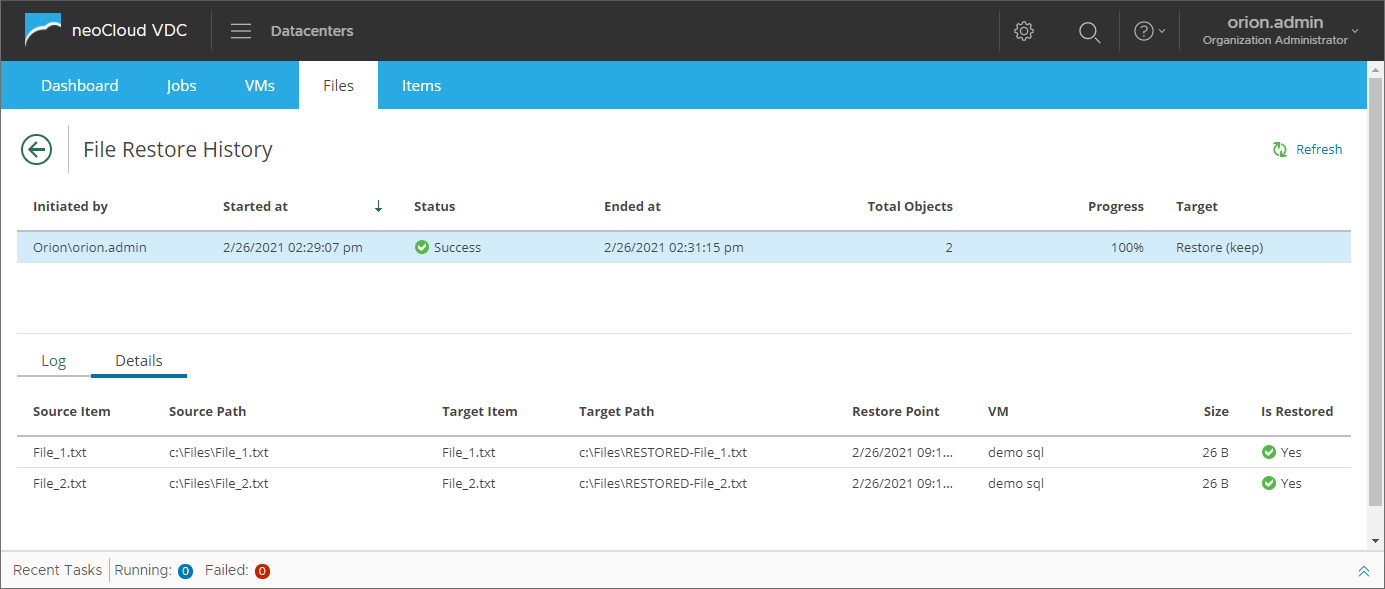
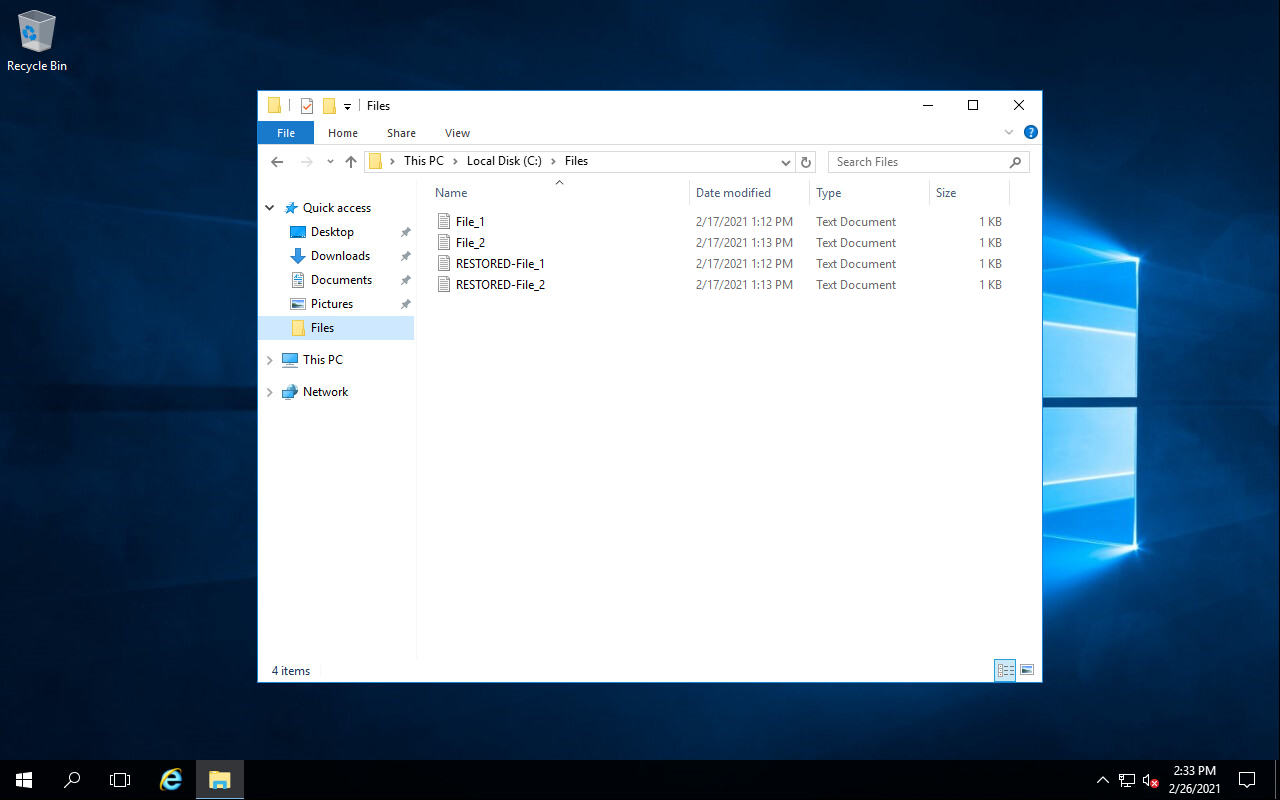
After the data restore completes, the user can preview the availability of the restored data in the virtual machine. In the example provided, the Keep option is used while restoring, so in the operating system the data has RESTORED before the original name.
