Installing and Using a SoftEther VPN Client on a Windows Operating System
Downloading a SoftEther VPN Client
The SoftEther VPN software can be downloaded from the official webpage for downloading SoftEther:
Alternatively, the latest version of the Windows client can be downloaded directly under the following link:
Installing a SoftEther VPN Client on Windows
The process of installing a SoftEther VPN client on a Windows operating system is very simple. The downloaded software is executed with a double click, whereby the Setup Wizard is launched. Installing the software requires administrator privileges. If the user profile which is initiating the installation lacks administrator privileges, the software will open up User Access Control so that administrator credentials can be entered.
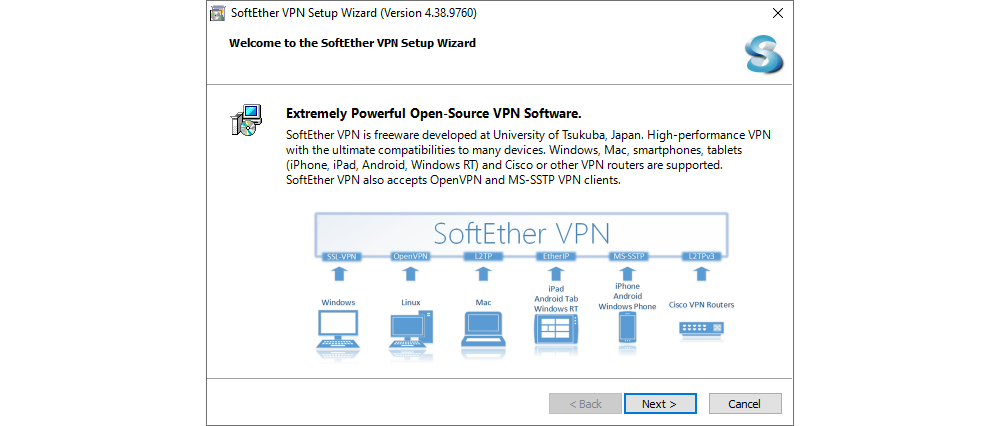
On the first screen, click Next to continue with the process.
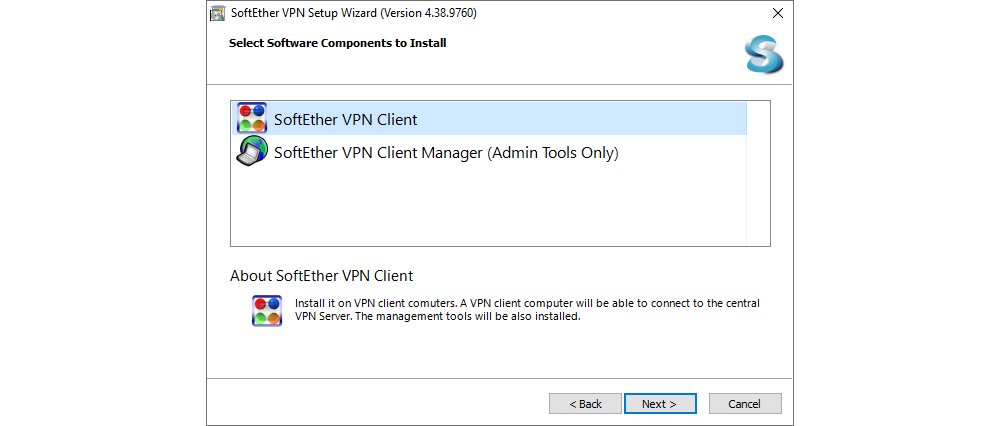
The second screen displays the options for installing a SoftEther VPN Client or SoftEther VPN Client Manager (Admin Tools Only). For installing the client for establishing VPN connections itself, select the first option and click Next.
If a system administrator needs to manage multiple SoftEther VPN client installations, the SoftEther VPN Client Manager can be installed on the system administrator’s computer.
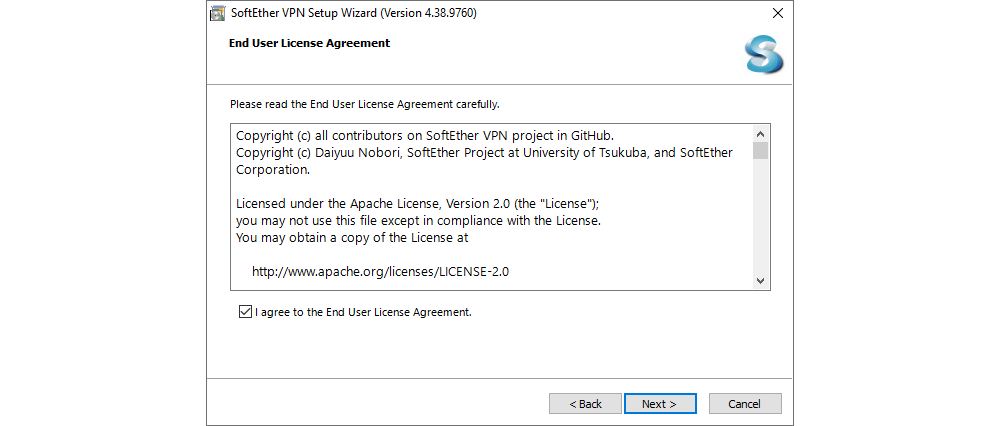
The following screen asks the user to accept the End User License Agreement for using the software. The software is licenced according to Apache License 2.0 for open-source software. To accept the terms of use, tick the box and click Next.
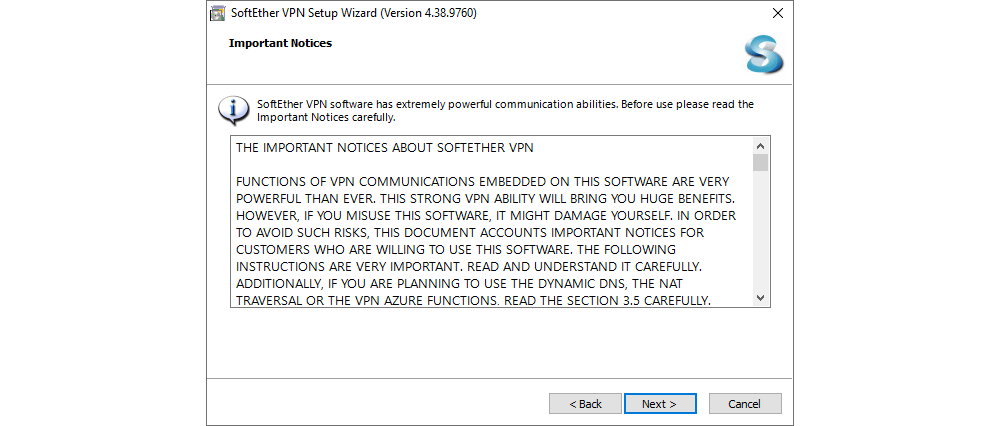
The following screen displays important information related to the use of SoftEther VPN and concerning legal regulations and requirements. To continue with the process, click Next.
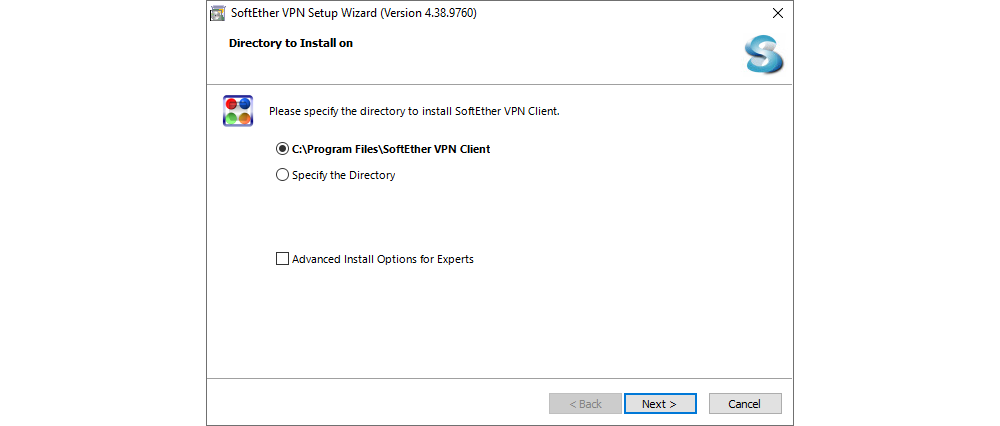
The following screen allows the user to choose a predefined or specific directory for the installation of the software.
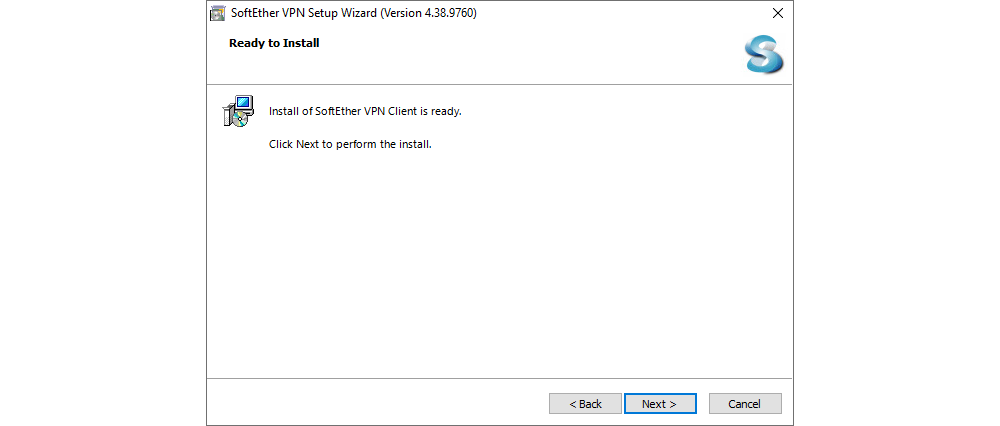
The following screen asks the user to confirm before starting the installation of the software according to the previously set parameters.
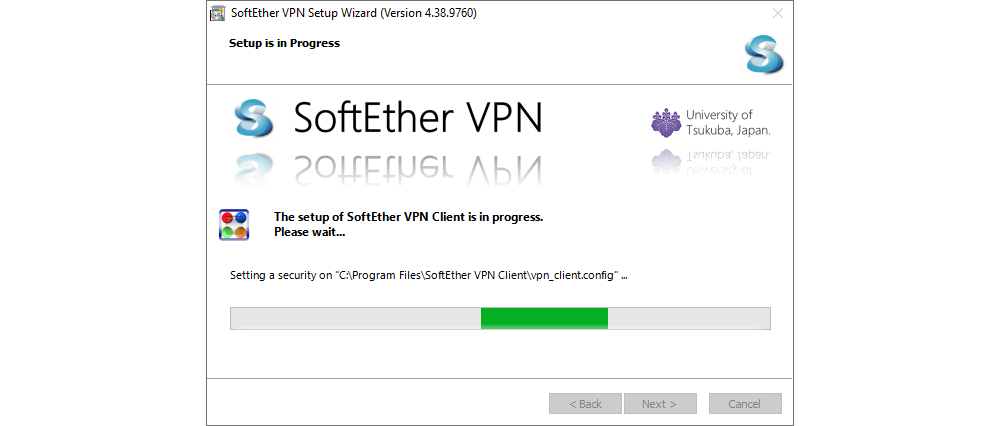
The installation of the software can take a few seconds.
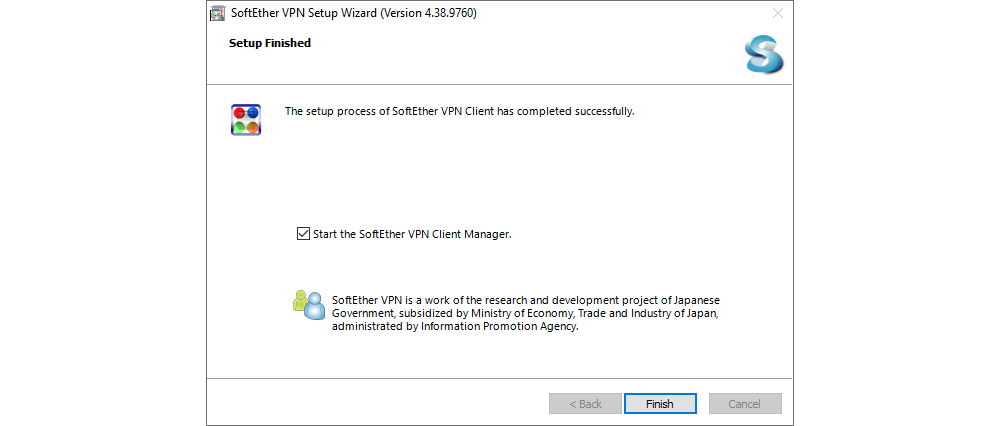
At the end of the installation, the option for starting the SoftEther VPN Client Manager, which is used to manage VPN Connections on a local computer, is pre-ticked. To complete the process, click Finish.
Configuring and Connecting to a SoftEther VPN Client
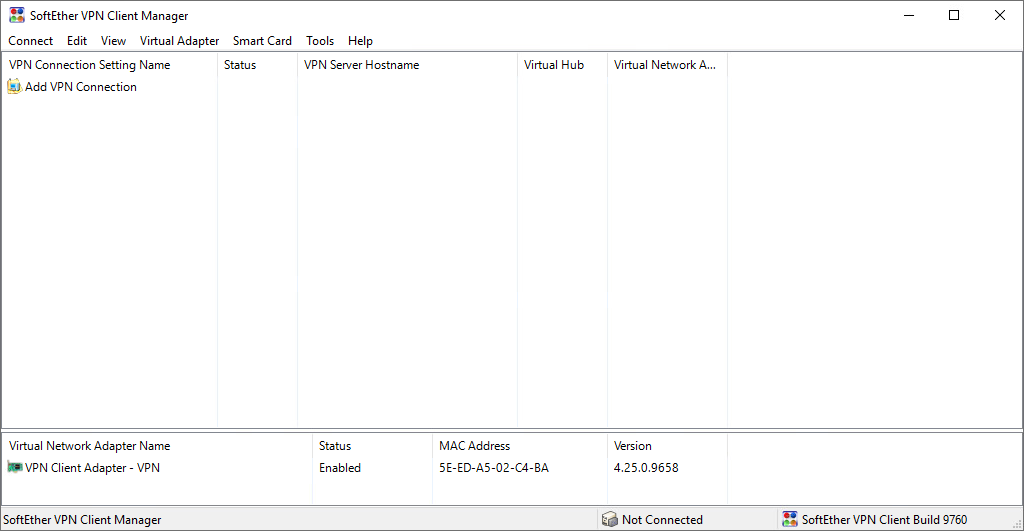
After the installation, the application known as the SoftEther VPN Client Manager is launched, in which it is possible to manage VPN connections and connect to previously defined connections.
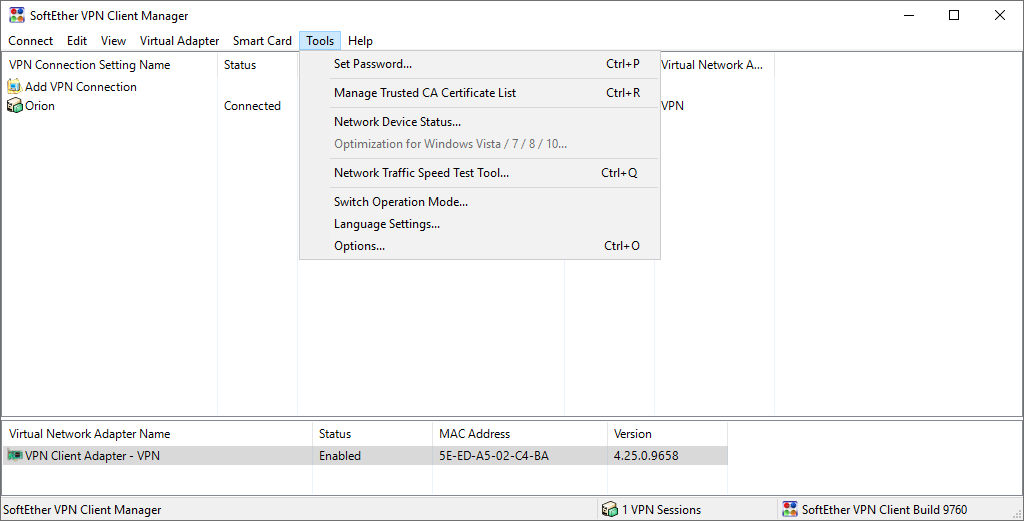
The home interface of the software contains menus with various options, the central screen where VPN connections become available, and virtual network adapters through which communication with VPN connections is realized.
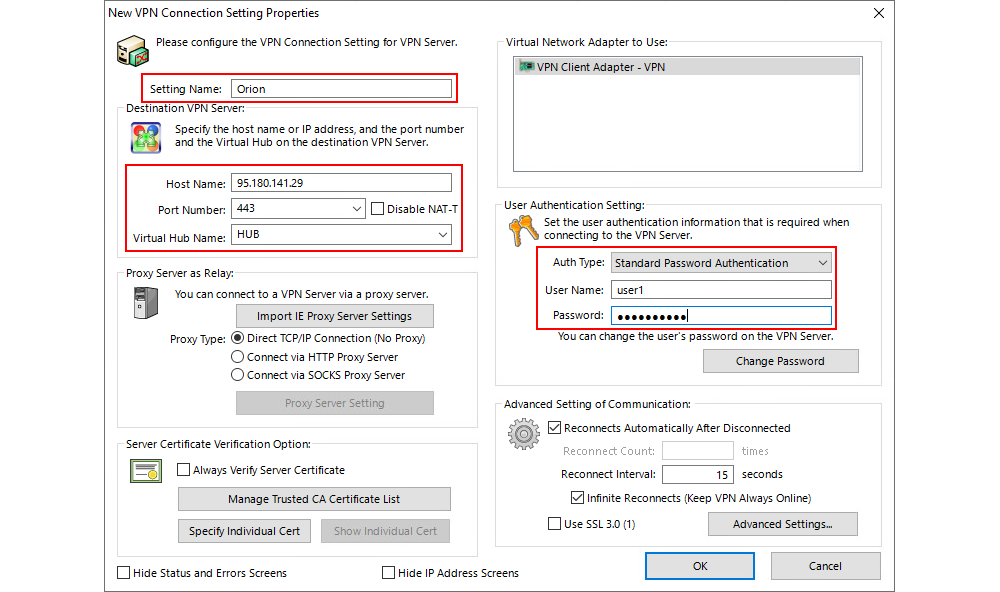
Click Add VPN Connection to initiate the simple process of creating a new VPN network. In this screen, the following parameters need to be set:
- Setting Name: Name of the VPN connection, for easy recognition and management.
- Host Name: Name or IP address of the VPN server.
- Port: Port on which the connection to the VPN server is established.
- Virtual Hub Name: This parameter is automatically filled once the correct parameters have been set in the Host Name and Port fields. The predefined name which should appear is VPN.
- Auth Type: The predefined option which should be selected is Standard Password Authentication.
- User Name: User name for connecting to the VPN server.
- Password: Password for the user name.
Once a VPN connection has been established, we recommend that the user change their password by using the option Change Password on the same screen.
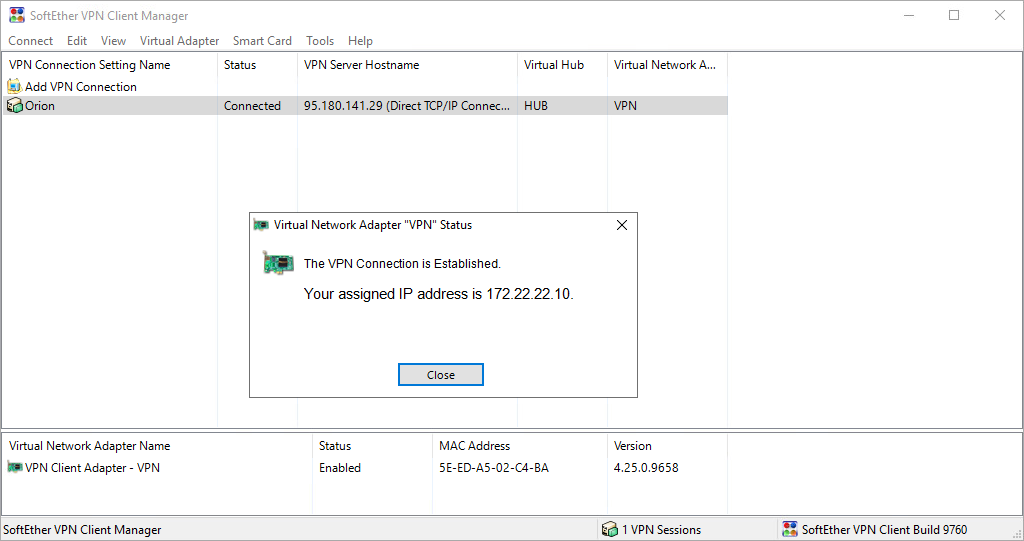
By double-clicking on the created VPN connection, a connection to the VPN server is achieved. If all the parameters have been correctly filled out, a message confirming the successful connection appears and the status of the VPN connection is displayed as Connected.
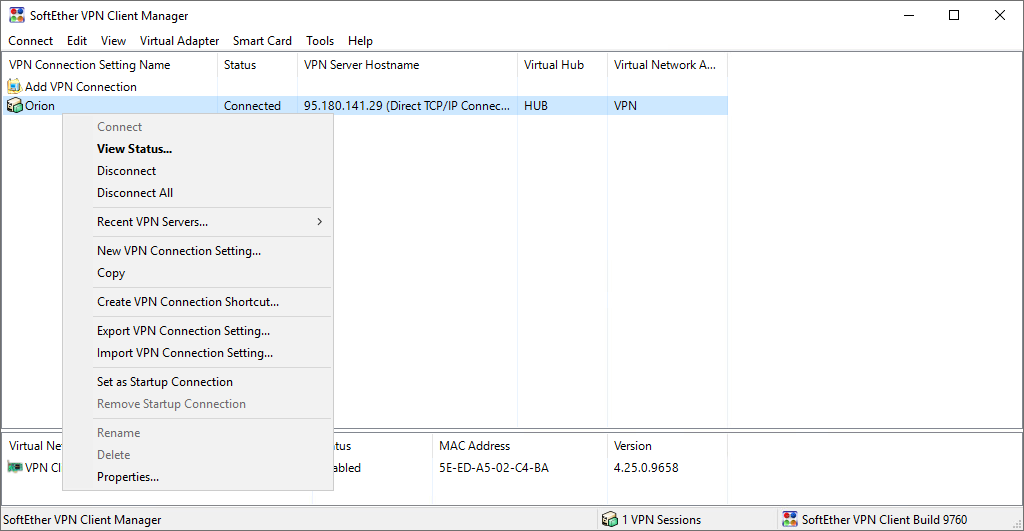
Under Connect in the main menu of the interface, or by right-clicking on the created VPN connection, a menu with a large number of management options is shown. A few useful options which we will single out are:
-
Create VPN Connection Shortcut for creating a shortcut icon which links to the VPN connection and can saved anywhere on the user’s computer, for example on the desktop. Double-click on the icon to connect to the VPN connection. The following icon is an example of a shortcut:
-
Export VPN Connection Settings for exporting the settings for a VPN connection into a file, for easier transfer of the settings to other computers. This step does not export the credentials used for logging into a VPN connection (User Name and Password). The following icon is an example of a file containing an exported configuration:
-
Import VPN Connection Settings for importing previously exported settings.
-
Set as Startup Connection for automatically establishing a VPN connection when starting the computer.
-
Properties for changing the settings of a VPN connection.
In the Tools menu interface, additional options can be found, including Set Password. This option allows users to protect the SoftEther VPN Client Manager with a password. When starting the software, the user will be required to enter the configured password for all and any interaction with VPN connections and options, including the establishment of a connection.
Password protection covers the automatic establishment of a VPN connection via Set as Startup Connection and the establishment of a VPN connection through a shortcut icon.
The icon on the System Tray allows for quick and simple monitoring of the status of an established VPN connection.
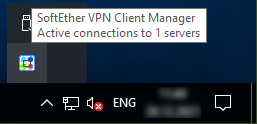
In addition to this monitoring, by right-clicking on the icon on the System Tray, the user can reveal a menu with additional options, similar to the management options from the interface of the SoftEther VPN Client Manager.

Upgrading a SoftEther VPN Client for Windows
An upgrade of a SoftEther VPN client for Windows is performed in much the same way as the installation process. The upgrade preserves all of the settings and all of the parameters which have been configured in the client.